

Self-hosting Mundi
Mundi is an open-source, AI-native web GIS licensed under the AGPL-3.0. This means you can self-host it on your own hardware, whether that’s your local laptop or a virtual private server.
This guide will walk you through the process of setting up and running Mundi locally using Docker.
Prerequisites
Section titled “Prerequisites”Before you begin, ensure you have the following:
- Docker Desktop: Mundi is distributed as a set of Docker containers, so you’ll need Docker installed and running on your system.
- System Resources: For a smooth experience, I recommend a machine with at least 4 CPU cores and 4 GB of RAM. I use a MacBook Pro.
-
First, clone the Mundi repository from GitHub. Open your terminal, navigate to a directory where you want to store the project, and run:
Terminal window git clone https://github.com/BuntingLabs/mundi.ai.git
-
Navigate into the new
mundi.aidirectory and initialize the git submodules.Terminal window cd mundi.aigit submodule update --init --recursive -
Now, build the Docker containers. This command reads the
docker-compose.ymlfile and builds all the services Mundi needs, including the main application, the database, and the object store. This may take a few minutes the first time you run it.Terminal window docker compose build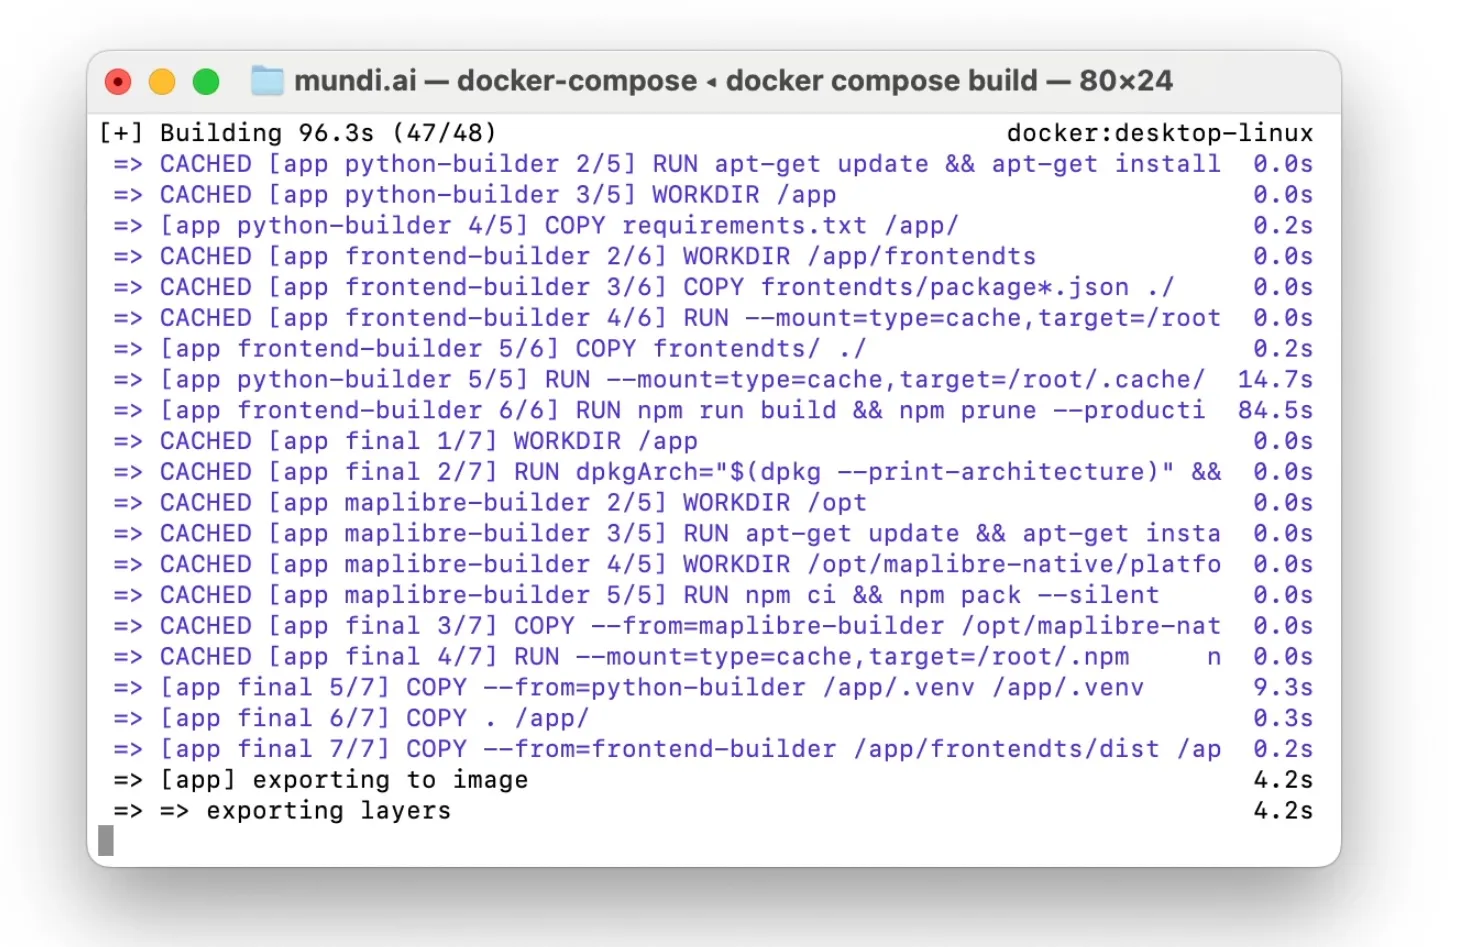
Running Mundi
Section titled “Running Mundi”With the services built, you can now start the application.
-
Run the following command to start the Mundi application stack:
Terminal window docker compose up appYou will see logs from the various services starting up. Note that you may see a warning like
The "OPENAI_API_KEY" variable is not set. This is expected, as we haven’t configured an LLM yet. Check out our local LLM guide to connect to a locally running LLM.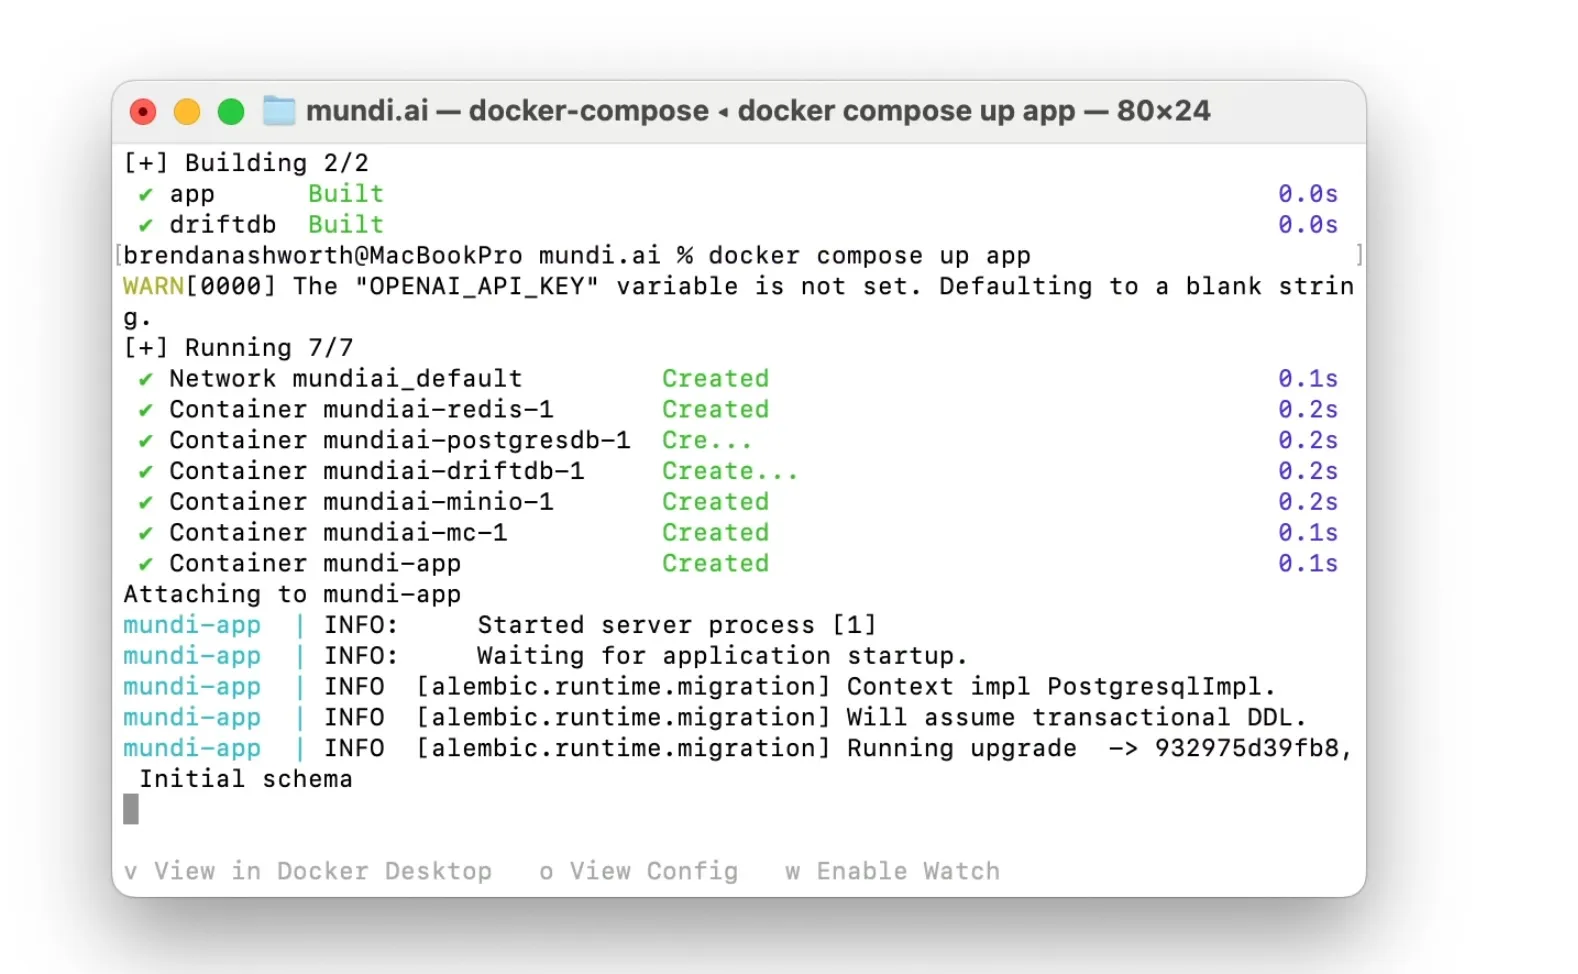
-
Once the server is running, open your web browser and navigate to
http://localhost:8000. You should see the Mundi welcome screen, ready to create your first map.
Creating Your First Map and Adding Data
Section titled “Creating Your First Map and Adding Data”Now that Mundi is running, you can start using it.
-
Click Create Your First Map. This will generate a new project and take you to the map interface.
-
While the AI chat functionality is disabled without an API key, you can still add data directly. Simply drag and drop a GeoJSON, Shapefile (zipped), or GeoPackage file onto the map.
Here, I’m adding a GeoJSON file of US state capitals. Mundi automatically uploads the data and renders it on the map.

Stopping the Server and Data Persistence
Section titled “Stopping the Server and Data Persistence”Your data is not lost when you shut down the application.
-
To stop the server, return to the terminal where
docker composeis running and pressCtrl+C. -
All your data, including map projects and uploaded files, is persisted locally in the
data/directory within yourmundi.aiproject folder. This means you can stop and restart the server anytime without losing your work.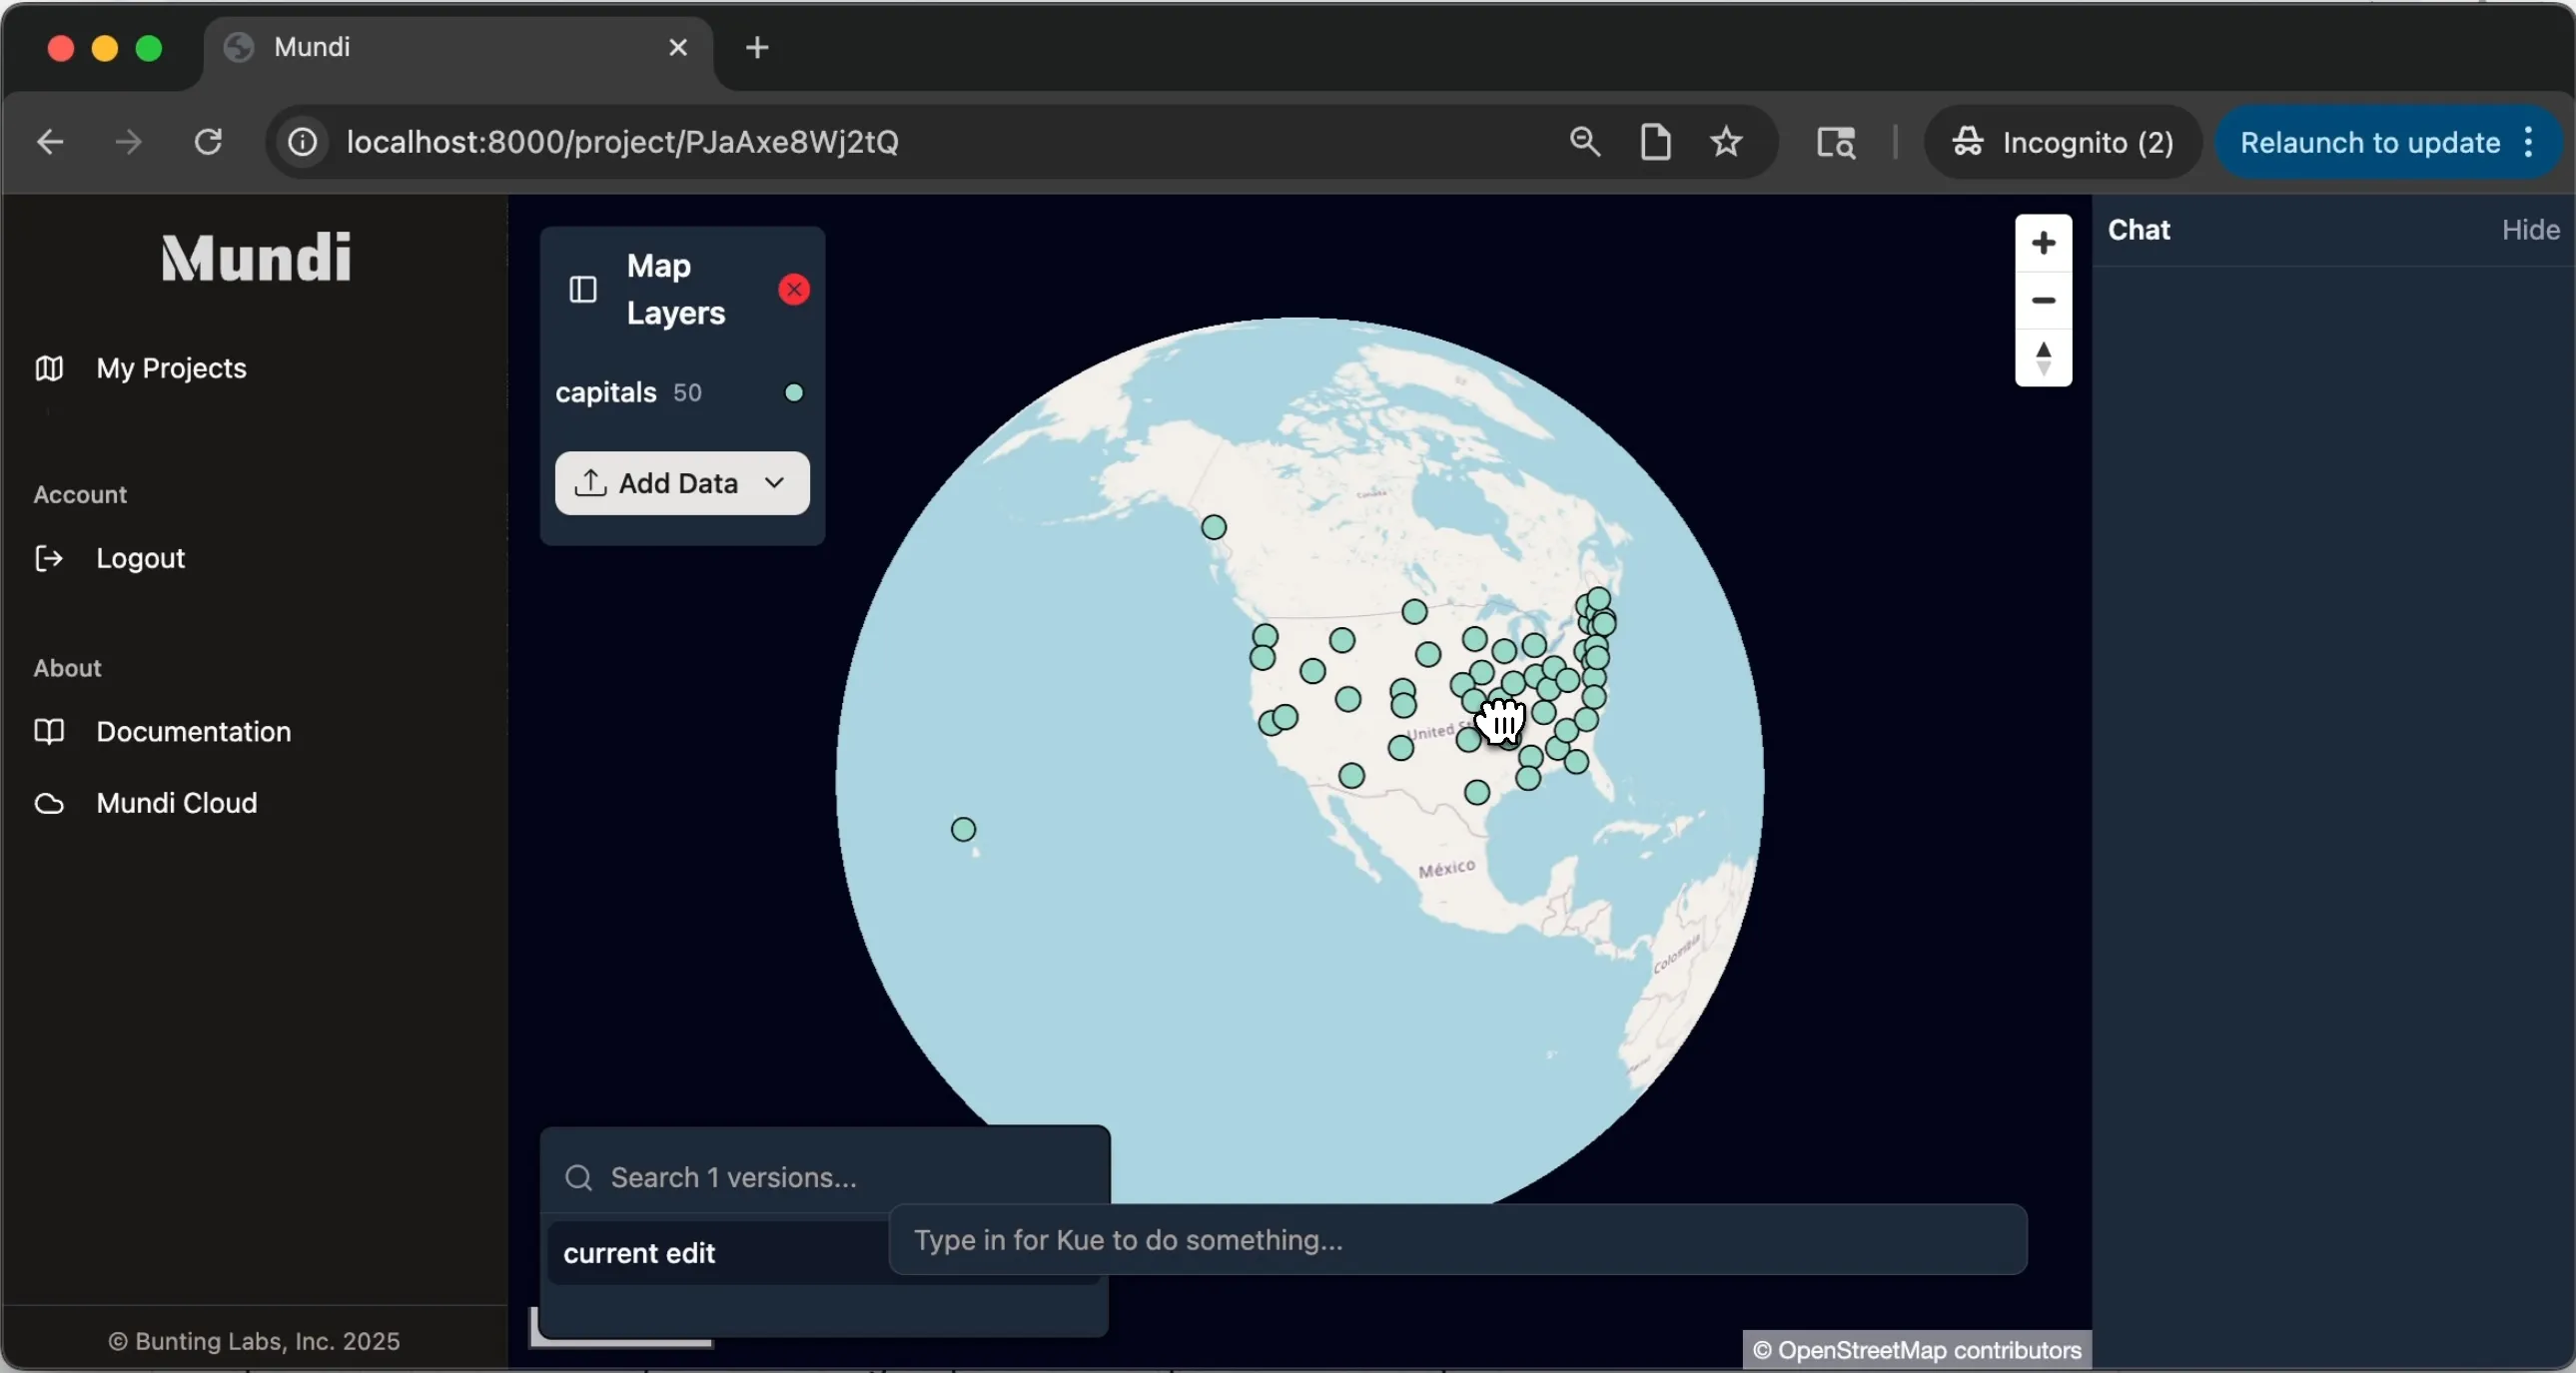
Advanced self-hosting
Section titled “Advanced self-hosting”Read-only mode
Section titled “Read-only mode”When you self-host Mundi, it runs in edit mode by default. This mode is designed for a trusted environment where any user who can access the application is allowed to add, edit, and delete data.
For sharing maps publicly, you can configure Mundi to run in
read-only mode, which prevents viewers from making changes to the
data. This can be changed by setting the environment variable MUNDI_AUTH_MODE=view_only
in the docker-compose.yml file. It defaults to edit.